Studied Stop-Motion Animation with Professor Matthew Manning, via RISD. This is the classic bouncing ball exercise. I learned how to use the program Dragonframe, and cycled the sequence three times.
I like using a black, red, and white aesthetic--which I continued in this second animation exercise, showing a rolling object. An excellent horizontal tripod is essential--I ended-up using a Geekoto purchased via Amazon.
Decent lighting is essential--after an attempt at using random desk lamps, I had to purchase an LED Alston lighting kit that came with two lights on tripods, from Amazon. The dimmer feature was super-helpful later-on, while I was shooting a project that needed to shift from dark to light.
This particular assignment--animating an inchworm effect, wouldn't have been possible without using a thing called "glue dots," which are essentially like little dabs of rubber cement on a wax-paper roll. Otherwise, this string of beads would not have stayed in place.
It took many tries to shoot this particular exercise, which
is referred to as a "penny coaster." I decided to use star mints, which I
sprayed with workable fixative to keep them from sticking to the
decorative paper background. Having been in the animation field for a
long time, I estimated the arc and the timing by dead-reckoning. It was
only later that a found out Dragonframe has a way of creating a path
overlay, on which you can plot out the ease-in/ease-out...
I decorated the background with colorful tin lids from various containers, along with Feves (little gold crowns) meant for Galette des Rois/King's Cake.
This
exercise is essentially to transform a clay object from one shape to
another. Rotating the pieces of clay made things a little more dynamic,
and I used silicone ice cube trays to form the final shapes. I also used
little plastic gems as background props, just to see how it would look
when lit.
We had two short films to produce towards the end of this course--I used the first film to make a title sequence in hand-cut paper (a series of individual replacement pieces). This credit sequence was later edited onto the back end of the second film assignment.
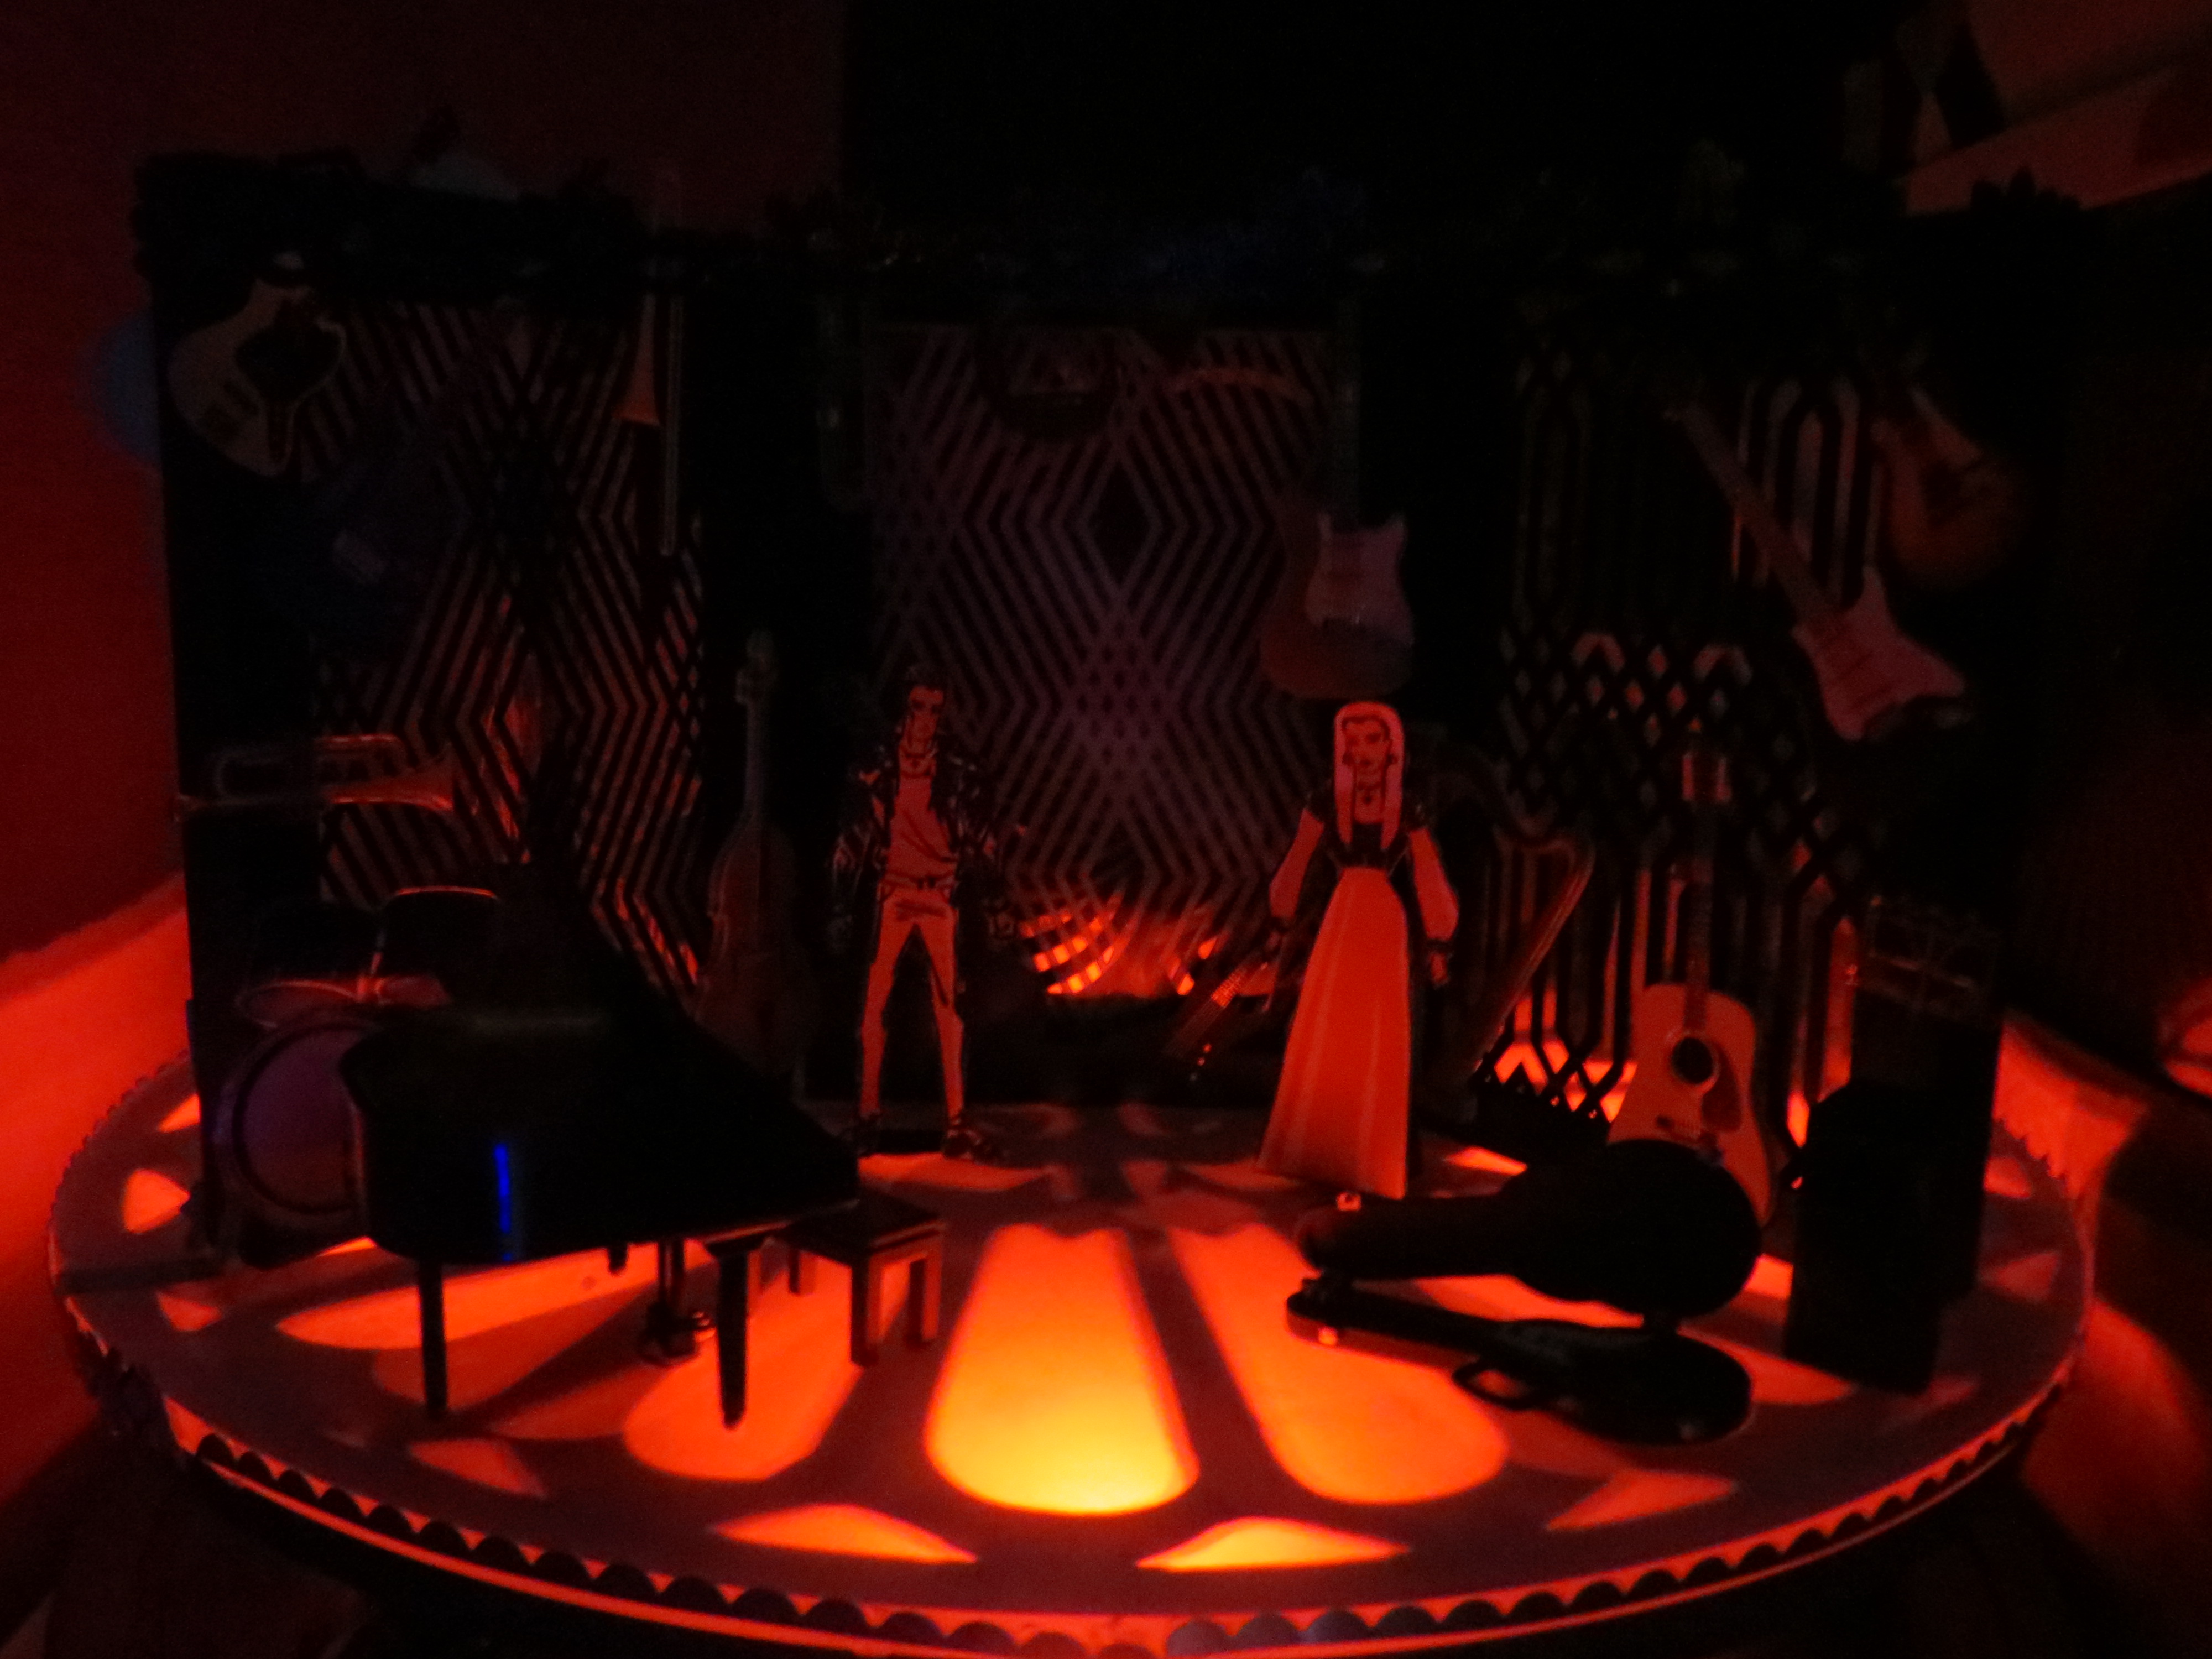
I used the second film assignment to create the main film, using a turn-table as well as LED color-changing miniature lights, under-lighting, black-light paint, and moire effects. It was a chalenge to transcribe the music/beats/timing via the Dragonframe Xsheet.
I used Camtasia to edit these two sequences together, adding a visual and musical fade-in and fade-out.
After the final fade is the credit sequence.
I learned how to use Dragonframe during this entire process. And used Xsheets for the first time in a very long time.
A huge stack of Gates to the Underworld, so that I could do a stop-motion zoom-in and zoom-out into the mouth/opening.
A pile of paper flames that I used to transition from Orpheus and Eurydice parting ways, and the front of the Gates of Hell.
A bunch of different Orpheuses and Eurydices. The effect of the veil coming down over Eurydice's face turned out pretty well.
The clear curtain, before the cloud layers were added.
Old-school timing charts for the curtain transitions.
Attempt at creating a moire effect
Lighting test
Scale model based on Jack Skellington's house in "Nightmare Before Christmas."
I built this during a model-making class I took at Gnomon.


No comments:
Post a Comment